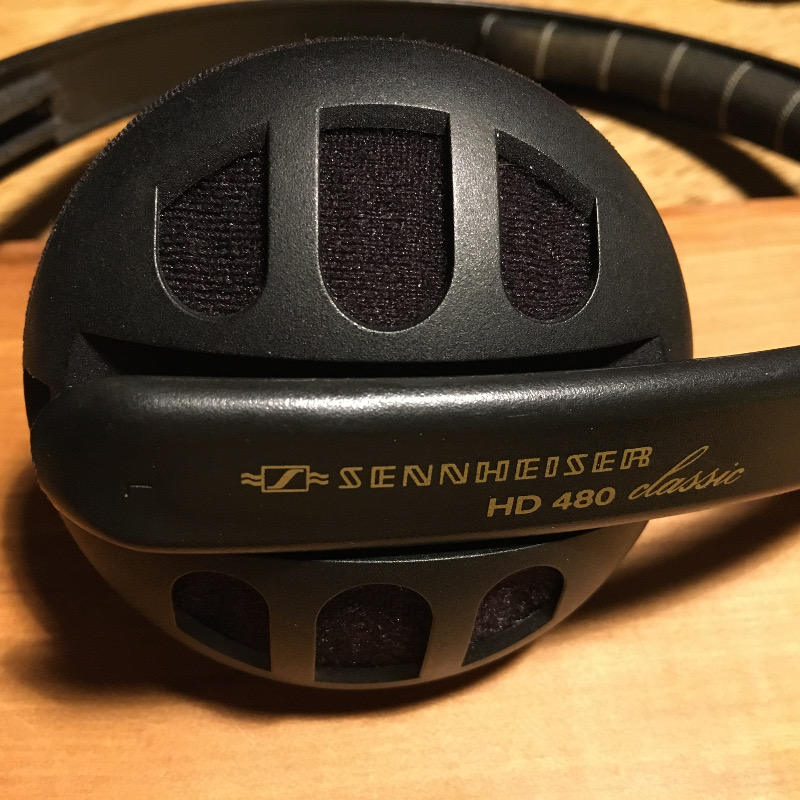
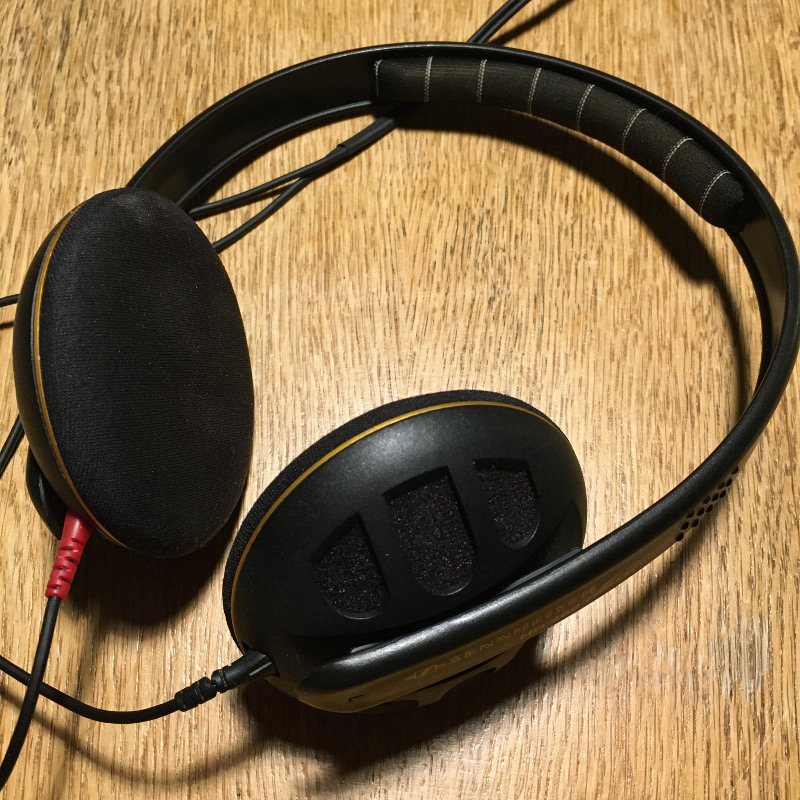
Here I'll show you how I fixed an intermittent issue with my long-term relationship - a pair of Sennheiser HD 480 classic headphones. It's been quite common with the early ones until Sennheiser fixed the contact springs inside the phone modules.
I'm going to show how to disassemble a headphone and how to fix contact issues. It'll take ten minutes of your time.
The fineprint:
If you decide to perform the fix on your 480s it's of course entirely at your own risk. Don't hold me responsible if it doesn't work, you destroy either your 480s or break your fingernails.
The foreword:
The 480s consist of the "good old" (tm) plastic that doesn't get brittle over time so don't be too afraid to damage them. Nevertheless you should apply care because headphones are delicate devices. All parts are connected snap-in style with - you say it: good old plastic!
The 480s are completely plug-and-play so the only tool you'll need beside your fingernails is a trustworthy small screwdriver.
Procedure:
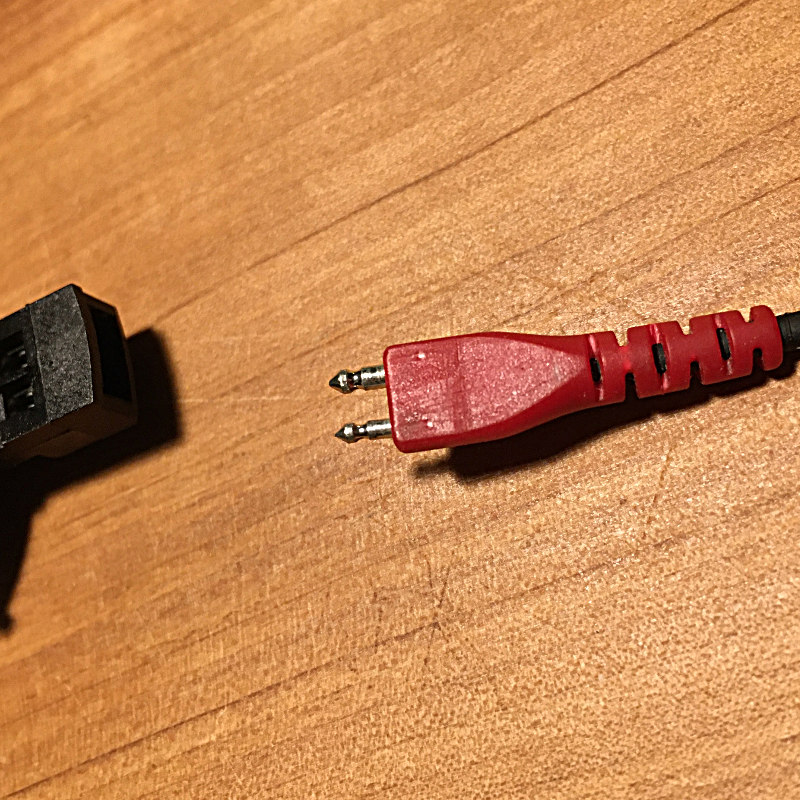
- Pull the cable from the headphone's module. You'll notice the pins are of different diameter. That's for signal vs. ground assignment. They only fit one way for correct stereo. Check if the contact pins are properly aligned in a parallel manner and clean. Correct if necessary. Re-plug and play music to see if this already fixed your problem.
If not:
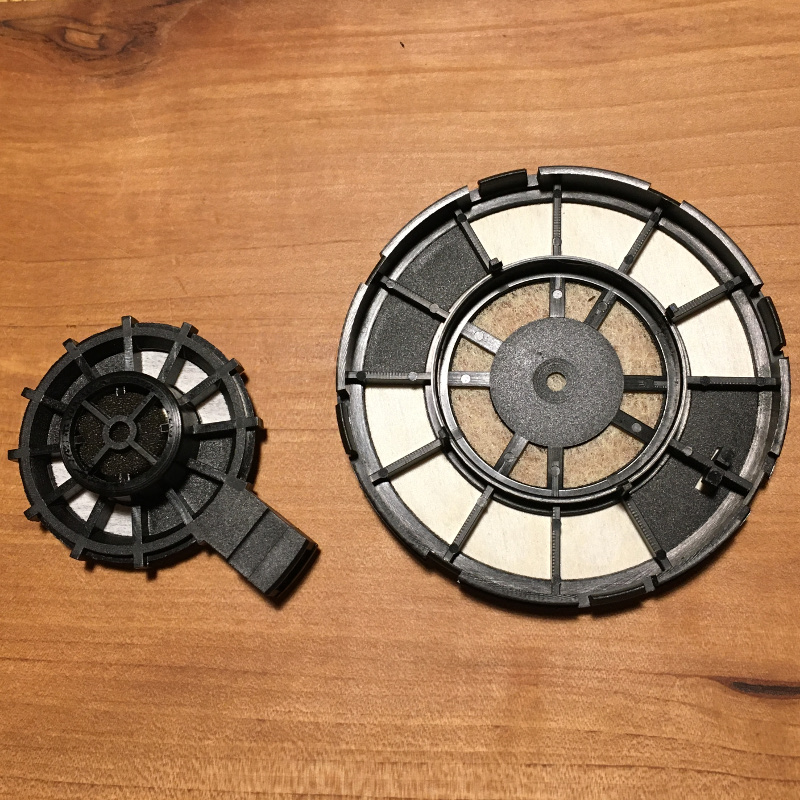
- Unplug the cable again, pull or lever the phone module gently off the headband. (They're connected ballhead into dovetail slider, "good old" (tm) plastic.)

- Use your fingernails to get between earpad and metal ring and pull the earpad off the headphone's body.
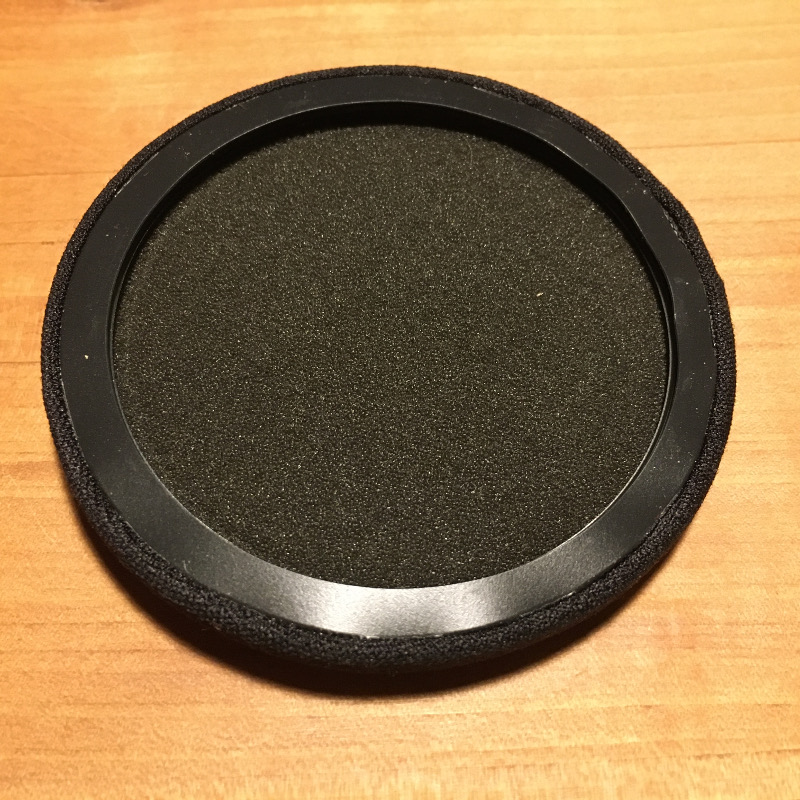
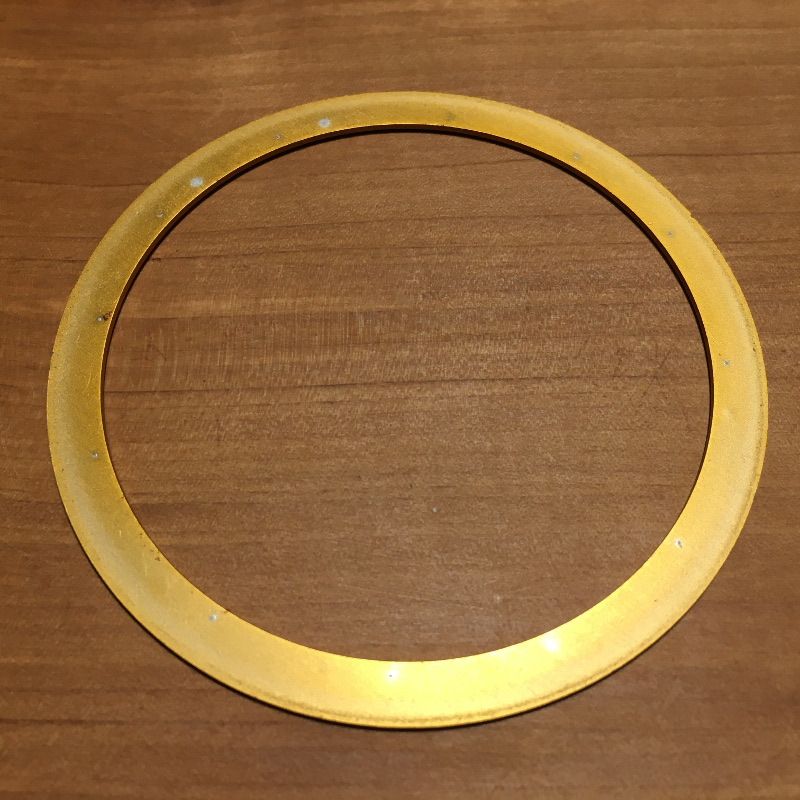
- Put earpad and metal ring aside.
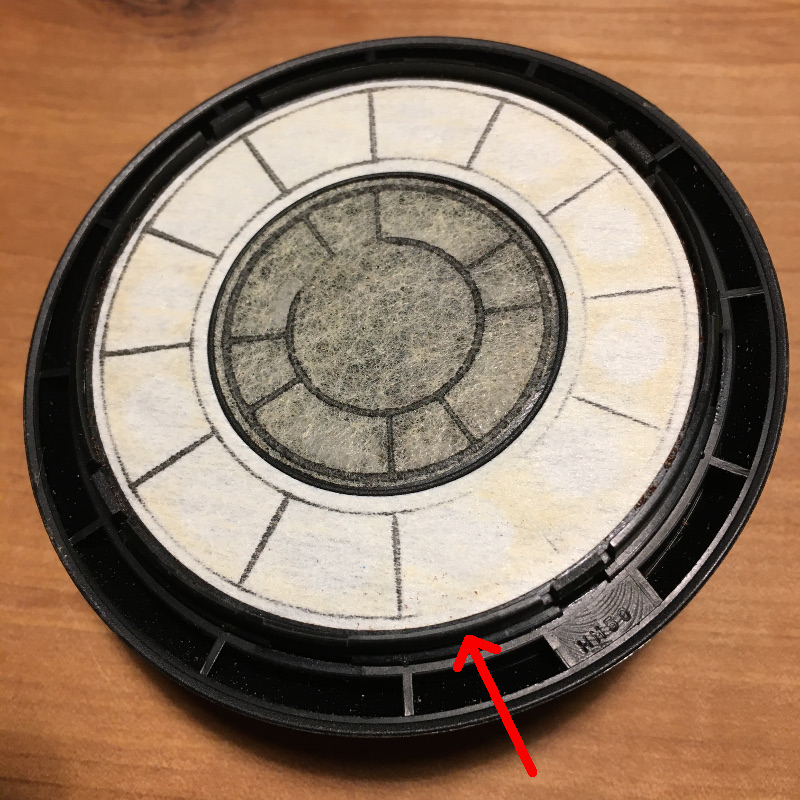
- Use fingernails and / or the screwdriver to lift the driver unit out of the backshell. (see red arrow) Take care not to indent the driver's fragile membrane.
Put the backshell aside.
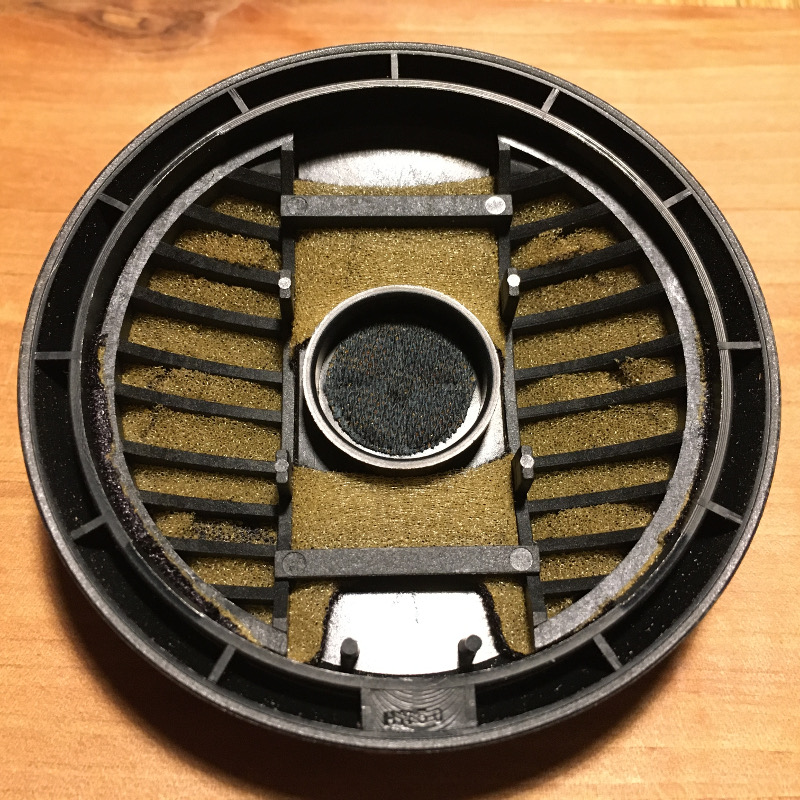
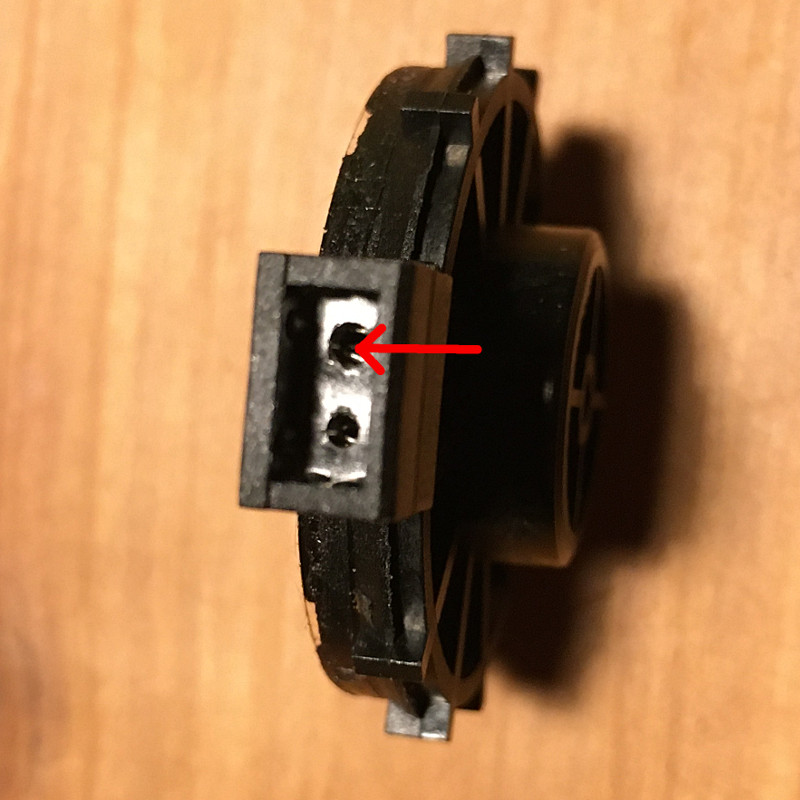
- Use the screwdriver to lever the actual driver unit out of the bass-reflex enclosure. (see red arrow)
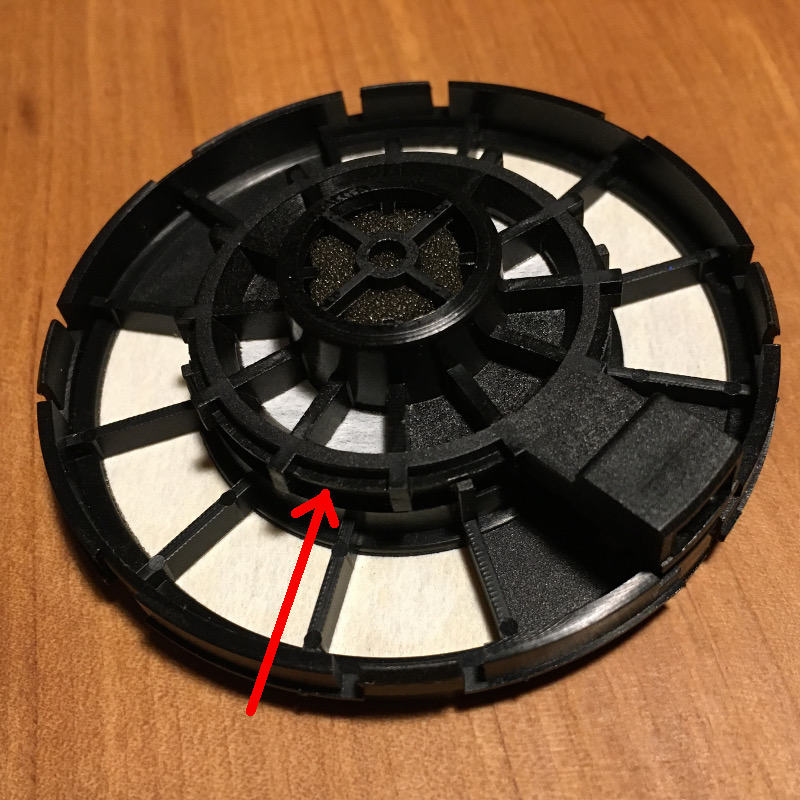
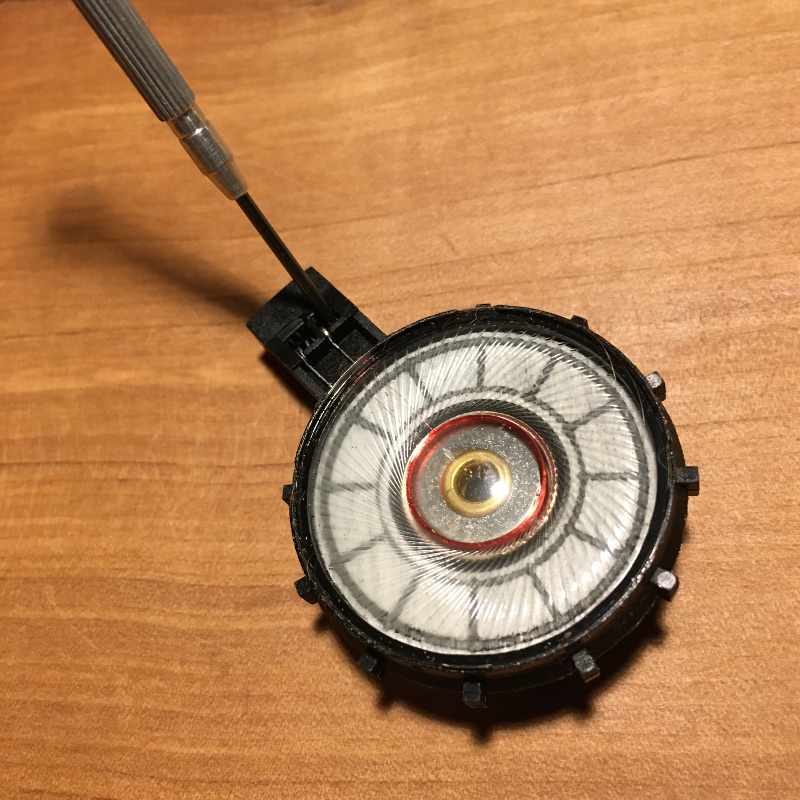
- Now you see the coil springs that provide for the contact between the plug and the ultra-thin wires of the driver's coil:
- Being extra careful not to damage the tiny red wires or to make the spring jump out of its place (!!!), use a small screwriver to get inbetween the coil windings and carefully twist the screwdriver's blade a little to stretch the windings.
- Test-plug the cable to check if the contact is good and if all fits nicely.
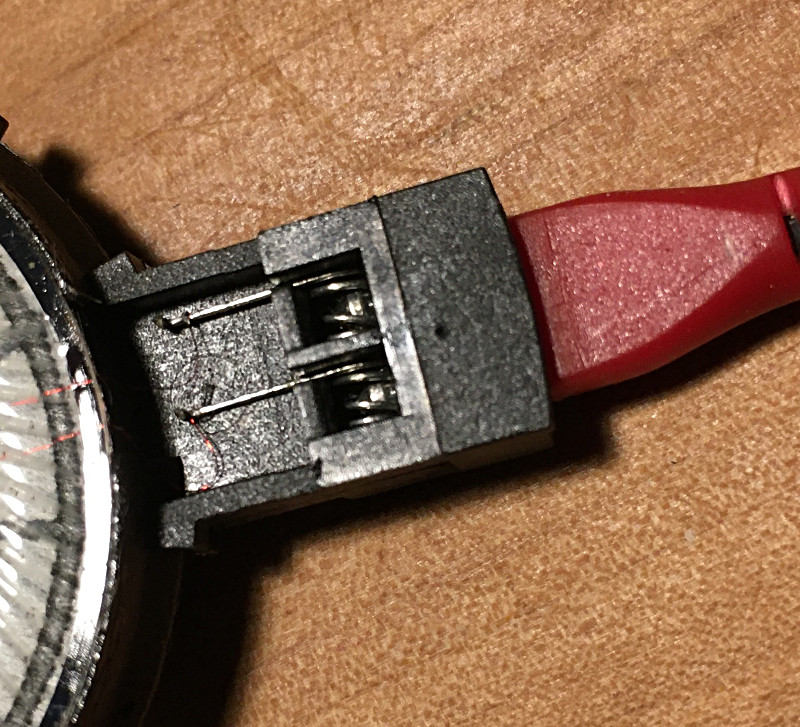
- Plug the headphone into an audio player to check if music sounds. It will sound awkward, but hey, it's a test for the springs to give good contact. Move the plug a little back and forth to check for possible dropouts.
- If satisfied, pull the plug.
- Re-assemble your headphones in reverse order. All pieces are supposed to snap-in easily. Wasn't rocket science, was it?
- Repeat for the other side, if necessary.
Enjoy the music and have a beer from the money you saved for not buying a pair of replacement headphones and cheer to these under-rated, rugged, vintage, enjoyable headphones.
The point I want to drive home is this: Before you dispose off something that seems broken first try to fix it. It's fun, satisfying, you learn something, it saves you money and the planet.